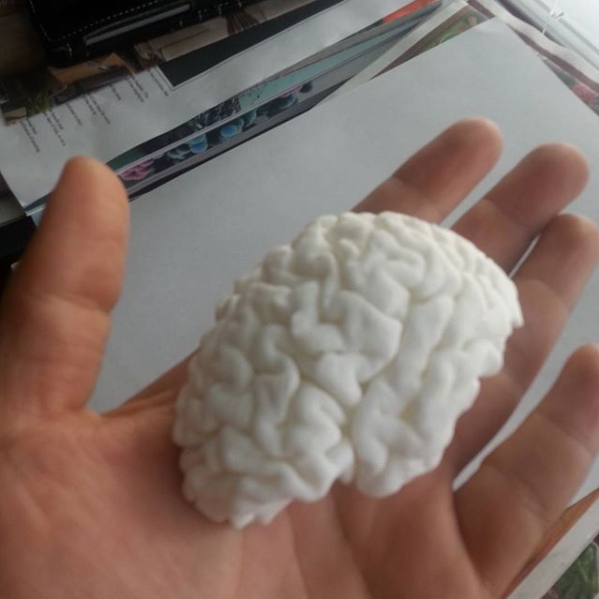
3D Printed Brain
In 2017, I 3D printed my own brain (not to scale) from an MRI I had taken while working in academic neuroscience.
The process is fairly simple, the ultimate goal is change the file format from DICOM (medical standard) to STL or OBJ. There are also various tools to help you along the way, such as this Instructables I used as a reference.
Alternatively, there is software that can do this all in one place. Although I’m not as fimilar, QIT, developed by Ryan Cabeen has a great UI and tools to do alot of cool analysis and imaging techniques on your brain.
Ultimately, you’ll need a few pieces of software and alittle bit of skill.
Software:
FreeSurfer
Fusion 360
Skills:
Unix/Terminal

The First step is changing the file format of a T2 scan from DICOM to NIFTI. dcm2nii tool is in the MRIcron library: Find it here.
The next step is to reconstruct the image in Freesurfer and skull strip the image, isolating brain tissue. Freesurfer has a ton of documentation and tutorials to help along the way. Use the code below to reconstruct the image. Any excess dura can be cleaned up in Fusion360.
recon -all -s FILENAME -all -i
Reconstruction will create various files including meshes of each hemisphere. The next step is to convert the rh.pial (right hemisphere) and lh.pial (left hemisphere) to 3D printable files, STL or OBJ. Use mris_convert to change file format.
mris_convert PathToPialFilesYouWantToConvert/rh.pial rh.obj
